


Confessions - this layout was created about a few years ago. The blog post has been sitting dormant, and I almost didn't share it with you. But today I was updating my blog and stumbled across the draft and decided why not? I'm sure everyone has days like this! So here it goes for better or worse...
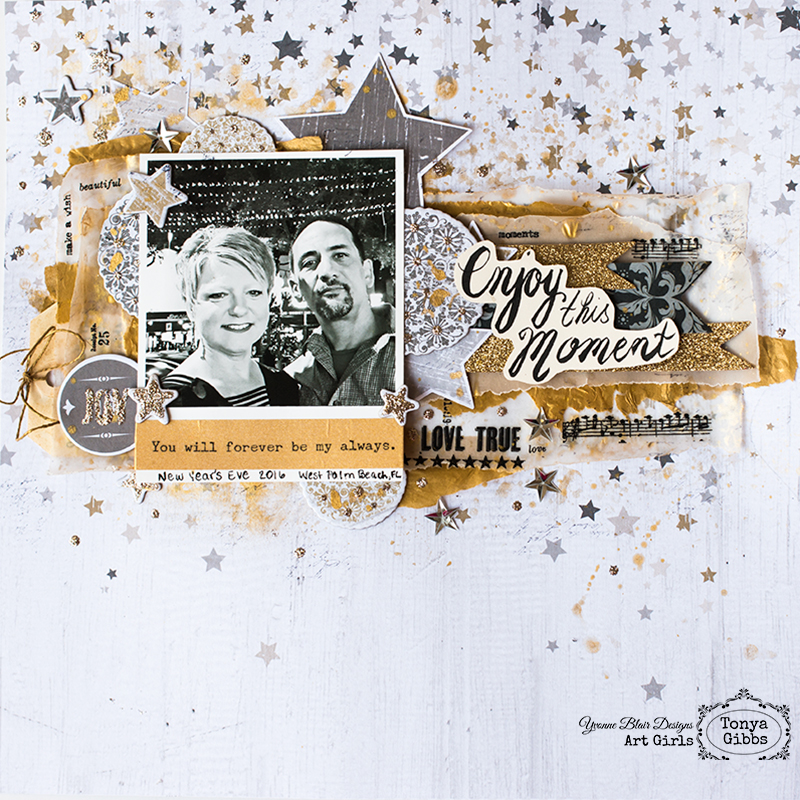
Hi everyone, today I have a layout that I want to share with you using the Neon Graffiti Line by Lindy's stamp Gang and Limor Webber Designs. The colors are so rich and vibrant, and REALLY make a statement! They are flat, meaning no shimmer!

Unfortunately, there is no video showing how I achieved the look of this layout. When I set out to create it, I was not in a super stellar frame of mind. My thoughts were cluttered. I was feeling overwhelmed. The post man had just delivered these products, and I really wasn't sure how they were going to react with different surfaces. My goals were not originally a layout but to find out how the mediums reacted on different surfaces.

I sat down and started to play without thinking about an end project. The process was really about clearing my mind and clearing my desk. Spritzing the colors on dark paper, white book text, and metal.

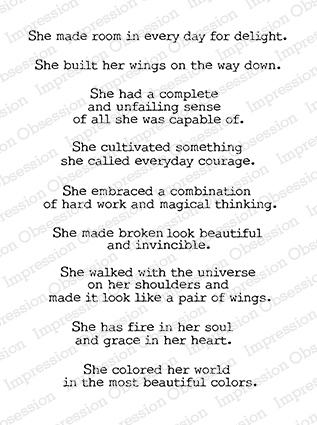
I have sat on this project for a few months now, and never really intended to share it with the world. But today I realized that I can't be the only person who goes through this feeling of constant chaos. Today's layout demonstrates that through the chaos in my brain art does emerge. When you read some of the passages around the page it becomes apparent that I am truly blessed. I brainstormed lots of the craziness around the page graffiti style with a white gel pen.
I never loved this project because I detest the color HOT PINK! Those who know me, know how I feel! It has it's place in the color spectrum, but man these colors are bright and sassy, and I guess that is why I avoided showing the layout to you, because MAN is this one hot pink mess! But when I stepped back, and thought about the layout as a whole, I think I love that it is a mess. Because that is truly how I felt the day that I created the page. My brain was cluttered with these crazy thoughts, and they needed to escape!

Fall is crazy here. I'm a mother, I work full time, I volunteer for a youth football program, and I'm a local sports photographer, on top of all that madness, I decided to return to school. WHAT WAS I THINKING? As you guys have probably noticed, this time of year, my artsy projects become sparse. I'm still creating, but WHEN I retreat to my crafty space, it is for refuge not for work. Admit it, we have all been there! So I didn't want to create a video, or hassle with step by steps. I just wanted to PURGE my inner thoughts, and spend some time creative playing.
I almost didn't share this layout with the world. But I wanted to remind you guys that it is ok, to create layouts like this that document your inner thoughts. Not only do they help you process how you feel at the moment, but 10, 20 years or a lifetime from now, they help to document you the person!

This particular day I had a photo of myself on my desk, the quality of the photo wasn't great, but neither was my frame of mind. And all these pieces and parts inside my one hit wonder box, helped this mess come to life! Sometimes life isn't perfect, it is a MESS. It is ok to document that mess!
Thanks for helping me process, and vent from time to time! Thanks for being patient followers when I neglect this part of my world! Thanks for understanding that sometimes you have to get out of your room, and go make some memories so that you can come back you have the energy to be creative!


